


Driveway Sealer Problems: How to Diagnose and Fix a Bad Sealcoat Job
Driveway sealer problems? Learn why sealcoat peels, stays tacky, streaks, or discolors, and exactly ...
.jpg?width=1000&name=909-1%20(1).jpg "909-1 (1)")


Two main questions matter when you are buying sealer: how good is it and how much do you need.
 The quality of asphalt sealer determines how well it blocks water, resists chemicals, and stands up to traffic. Higher grade sealer gives you more mileage out of every DIY sealcoating job.
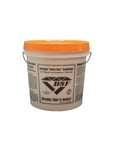
Look for products labeled airport grade, since these must meet high performance standards for runways. You might not find this at a big box store, but you can get high grade asphalt/blacktop sealer online that is ideal for diy work.
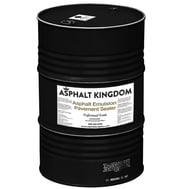
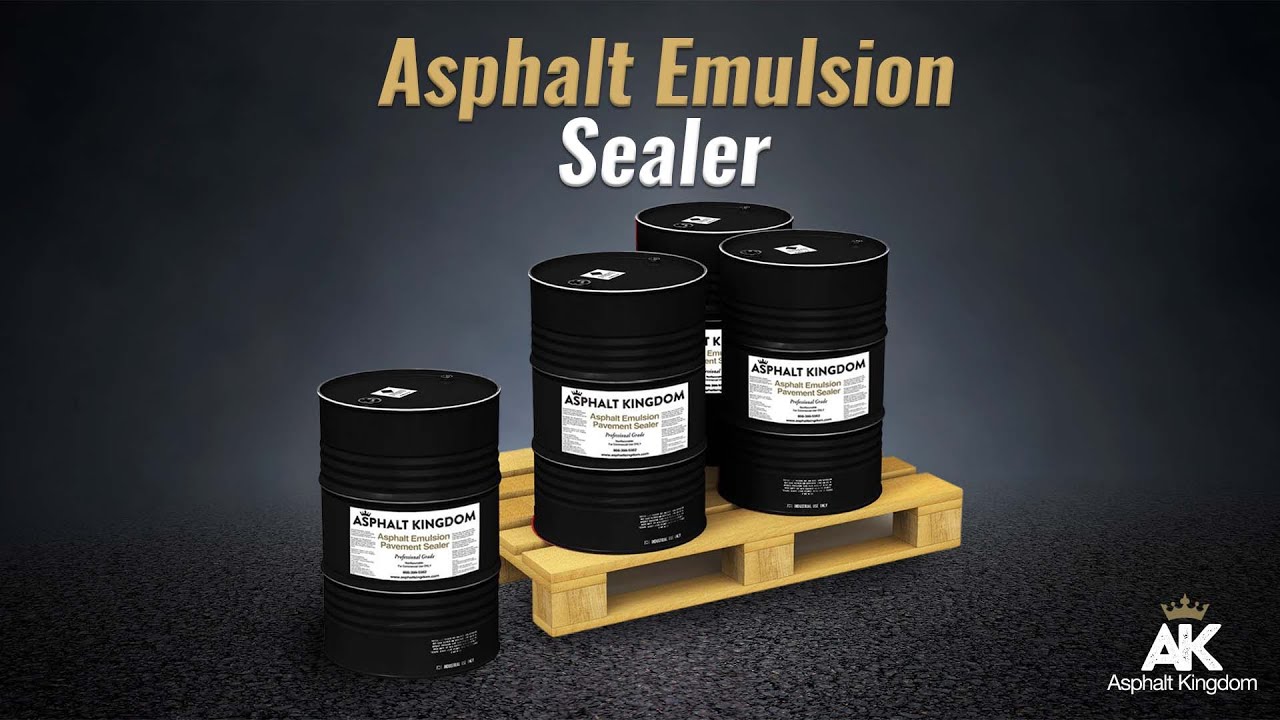
Emulsion sealer is generally considered a lower grade choice because it among other weaknesses fades faster, stains more easily, and needs warmer temperatures to apply.
To figure out how much sealer you need when planning how to reseal asphalt, start by measuring.
Use a tape or wheel to measure length and width of each paved area, then multiply for square footage. Add the totals together for all areas you will be sealing.
Next, enter this square footage and your application method into our sealcoating calculator. It will tell you how many gallons or drums you need. It is better to have a little extra than to run out halfway through DIY sealcoating and have to pause for another order.
If the asphalt has been neglected for many years, budget enough material for two thin coats with dry time between them.
 Do you really need a machine to reseal asphalt, or can you get by with hand tools? For a tiny driveway, a squeegee can work. For anything bigger, a sprayer is usually the better choice.
An asphalt sprayer is often the single biggest upgrade for DIY sealcoating. It speeds up production, evens out coverage, and reduces fatigue.
Since you should sealcoat every two years, buying a machine is often cheaper than hiring a contractor over the life of the pavement. On a larger parking lot, using only brooms and squeegees becomes very hard work and eats up days that could be spent on other jobs.
It is not only faster to use a machine but also more efficient. A sealcoating machine uses about 40 percent less material than manually applied sealer. If you have equipment such as the AirBoss 300 Air-Operated Sealcoat Spray System, you can handle commercial scale DIY sealcoating and keep your own properties in top shape for years.
Most machines work in roughly the same way. Even the simplest sealcoating machine delivers cleaner results than hand tools alone. For bigger projects, you can step up to heavy duty units that handle up to 300 gallons of sealant.
This article goes deeper into matching the right sprayer to your pavement, budget, and production goals.
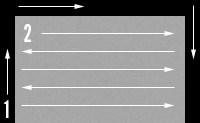 Now the actual DIY sealcoating begins. Plan your path so you do not paint yourself into a corner. Most contractors start with the top and side edges, then fill in the middle. Work in thin, even passes. If you are using a sprayer, have a second person hold cardboard to protect grass, curbs, sidewalks, and flower beds while you work the edges. Once the edges are done, start at the top and walk side to side in overlapping passes until you reach the bottom.
If you are a homeowner learning how to reseal asphalt for the first time, start with a small test area. This lets you dial in your walking speed and spray pattern before you tackle the full driveway or lot.
Accessories can make DIY sealcoating more efficient and less stressful.
The most popular accessory is the Sealcoat Edger. If you have never used a spray shield such as the Wand Wizard Edger before, you are going to be amazed at how much time it saves you. You simply attach it to the spray wand, then walk the edges. There is no need for a second person holding plywood or cardboard to catch overspray.

Other helpful add ons include filter kits and, for larger jobs, hose reels. These upgrades keep the sprayer organized and reduce downtime when you reseal asphalt on bigger properties.
When using a spraying machine, coat the top and side edges of the designated area first. Then, starting at one of the top corners, go side to side until it is done.
The spray tip on your wand controls gallons per minute and the shape of the spray fan. Not all spray tips are the same.
Low GPM tips give narrow patterns and more control on tight or detailed areas.
For efficient DIY sealcoating, carry a small selection of tips and match them to each area.
If you notice poor pressure at the tip while you reseal asphalt, do not ignore it. This troubleshooting guide covers three common causes and how to fix them before you damage your pump.
A big part of DIY sealcoating success is taking care of your equipment. A neglected sprayer will clog, lose pressure, and may even burn up seals if run dry.
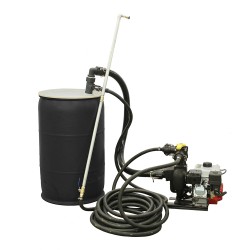
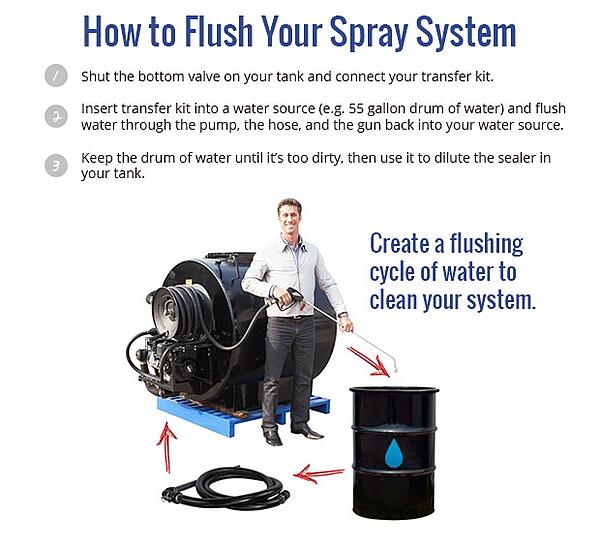
At the end of each day, flush the hose and gun. You will need a 55 gallon drum or large bucket of clean water and a transfer kit.
We strongly recommend you buy a transfer kit if you do not already have one. It is useful for transferring sealer from drums or tote kits and for flushing your sprayer thoroughly.
To flush:
Close the bottom valve on your sealer tank so you are not pulling sealer.
Connect the transfer kit to the female camlock.
This simple routine keeps your machine ready for the next time you reseal asphalt.
After flushing, remove the screen mesh from the filter kit and soak it in a 5 gallon pail of water for an hour or two. Use a hose to rinse the filter housing for 20 to 30 minutes, then reassemble. Clean filters are critical for reliable DIY sealcoating.
Take the tip off the gun and place it in a small container of Goof Off, bug and tar remover, or water. Use a wire brush or bristle to clear dried material from the orifice. A tip basket makes it easy to soak and lift multiple tips at once.
Never dump sealer water into a sewer or storm drain. Keep the 55 gallon drum for flushing through the season. When the water gets dirty, use it as dilution water, since our sealer can be diluted up to 20 to 30 percent with clean water, or use it to replace evaporated liquid.
When you are ready to spray sealer again, remove the transfer kit, reinstall the male camlock, open the bottom valve, and recirculate sealer inside the tank. Once it is mixed, switch to spray mode like normal.
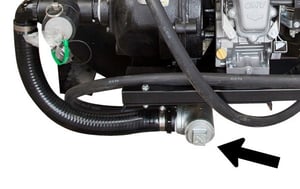 We have blogged about troubleshooting sealcoating systems that lose pressure. One common cause is a clogged suction port.
The simple way to clear it:
Even better, add a manual agitation system so the solids never get a chance to sit long enough to become a problem. That upgrade is worth it if you do a lot of DIY sealcoating.
Another option is to remove the hose from the suction port at the bottom of the tank, with the valve closed, and check for blockages. Place a 5 gallon pail under the valve, open it, and let thick sludge drip out. If the material has hardened into a solid, it will never remix and must be removed.
Prevention is the best sealcoating maintenance. If you will not use the sprayer for a couple of weeks, do not leave sealer in the tank and expect to start DIY sealcoating right away when you return.
Instead:
Remove the spray tip.
This protects the suction port, keeps sealer usable, and makes it easier to reseal asphalt again when the next maintenance window opens.

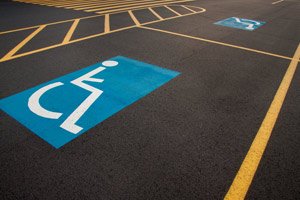 Once the sealer has cured, it is time for fresh lines and markings. We carry a full range of parking lot striping machines and a free line striping course that is just as straightforward to learn as DIY sealcoating.
You have already done the hard work of cleaning, repairing, and sealing. Fresh striping is the final touch that makes the whole property feel safer and more organized.
Do not forget to clean and store your machine, hoses, and accessories. Put away cones, saw horses, and caution tape only after the surface has cured. Good equipment care now means less hassle the next time you decide how to reseal asphalt.
If you want more structured training, our complete line up of asphalt courses covers everything from crack repair to business startup.
Sealcoating protects and defends your asphalt surfaces, turning short lifespans into decades instead of years. When you embrace DIY sealcoating, you save money, control timing, and keep your pavement looking sharp.
Do the simple water test to see if it is time to recoat. Patch potholes and fill cracks. Clean thoroughly. Choose a quality airport grade sealer and the right equipment. Plan traffic control, apply thin coats, and let the surface cure completely.
Once you know how to reseal asphalt correctly and repeat the process every couple of years, you will keep driveways, parking lots, and even small airfields in far better shape, often at a fraction of the cost of hiring everything out. Even large projects like small airports are within reach when you follow a clear process, use the right tools, and stay consistent.

Driveway sealer problems? Learn why sealcoat peels, stays tacky, streaks, or discolors, and exactly ...

Run a profitable asphalt business during peak season. 5 things that actually matter: consistency, ...

Door-to-door vs cold calling for getting your first asphalt jobs? See the pros, cons, and best use ...
sales@asphaltkingdom.com
Mon–Sat, 8:00am–8:00pm ET
![]()
![]()

